Ghoul Portrait DIY
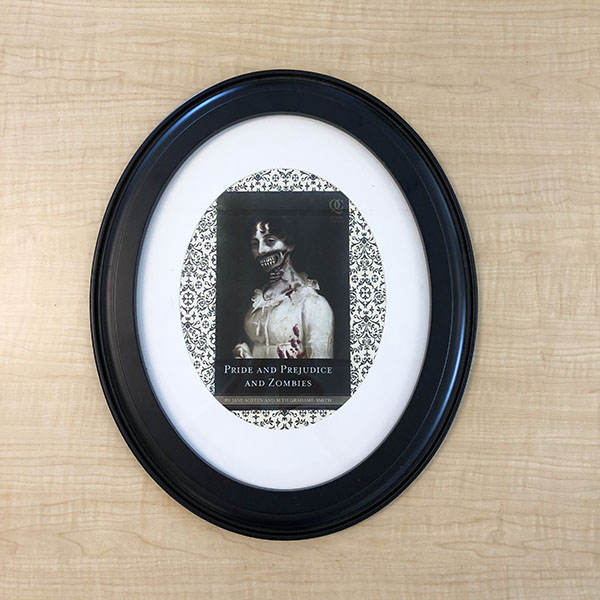
SUPPLIES:
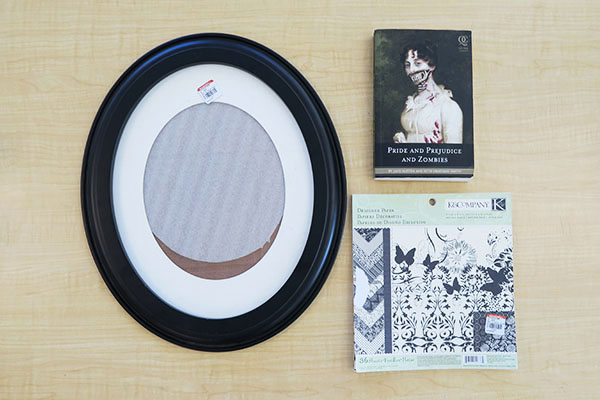
- Halloween-themed or a creepy cover book or comic
- Scrapbooking paper
- Frame with a matte
- Double-sided tape
- Scissors
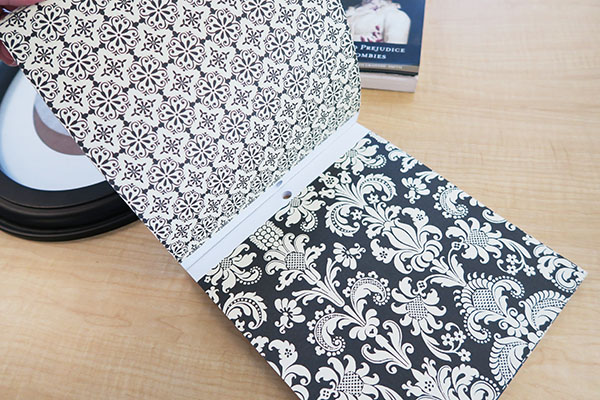
Step 1: Choose your favorite horror film book or story that has a great cover. The trade paperback size or larger works best. Find a frame that had a built in matte. This simple black one we found is perfect and the oval shape gives it a Victoria look adding to the creep factor. If you don’t find a black one, you can always spay paint it. Then we chose black and white themed paper with a scroll pattern – it reminded us of old wallpaper. Again – adding to the creep factor!
Steps 2 & 3:
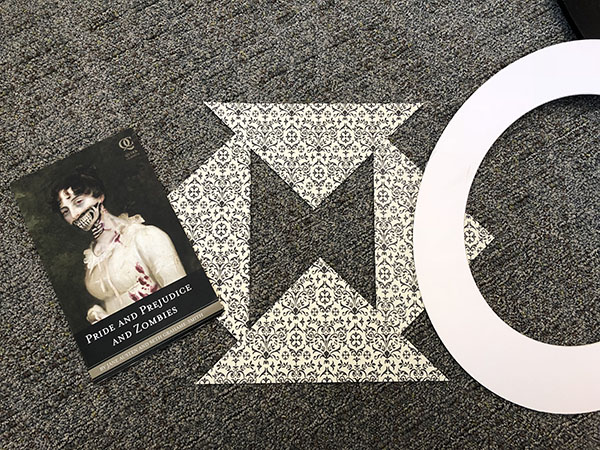
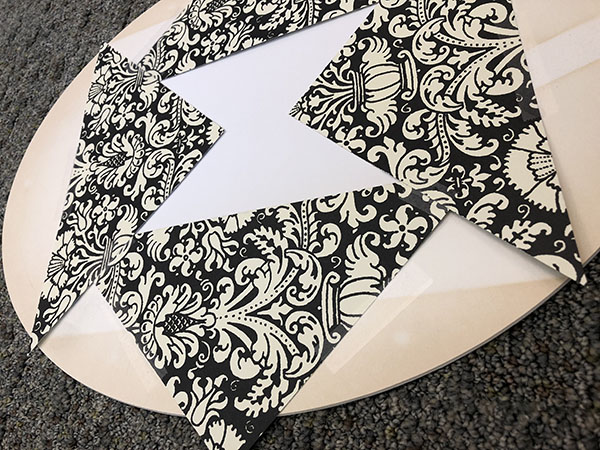
Since the size of the paper was smaller than the opening of the frame hole, we cut one sheet into four equal triangle sections by cutting diagonally starting at the corners. Cut the cover off of the book using an exacto knife. Place the pieces of the scrapbooking paper together (see image above) so that is cover all areas behind the book inside of the frame. Make sure you test it before taping!
Steps 3, 4 & 5:
Tape the scrapbooking paper pieces together on the wrong side so the tape doesn’t show. Then tape the book to the right side of the paper using the double stick tape. Now it’s time to tape the paper and book cover to the frame. Don’t forget to trim the pieces that hang over the edge of the matte!
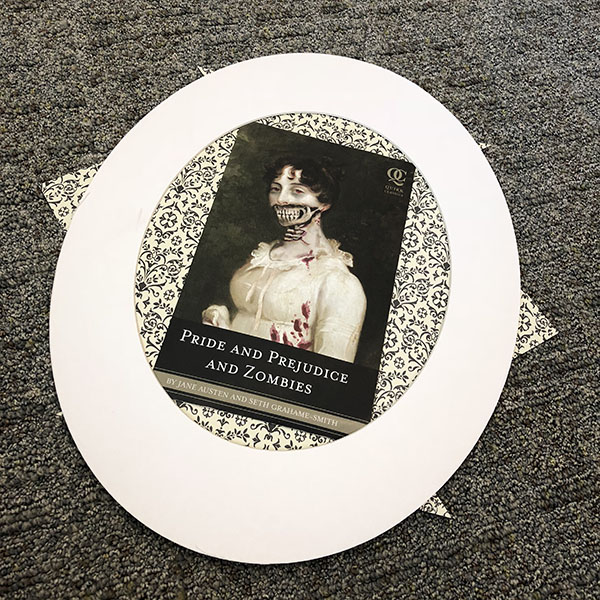
Now you have a “family” portrait of your favorite ghoulish family member that would look perfect hanging in the hallway of an 1890’s Victorian mansion.


