Pillow Cover and Hand Warmers
We LOVE plaid flannel. Sure it’s a staple in the Pacific Northwest, and not just from the Grunge 90s, but it’s super fun to craft with. It’s soft, the color combinations are endless and it wears well so you can use it over and over again. Here’s our tip for finding great plaid flannel – THRIFT TIP: head over to your favorite Goodwill and browse through the men’s shirt section. There is a much larger selection and you get more square footage of fabric to craft with using men’s sizes.
PILLOW COVER
Supplies:
- Thrifted Flannel Shirt – Find at Goodwill
- Pillow Form (or cover one of your old ones)
- Sewing Machine or Needle and Thread
Step 1:
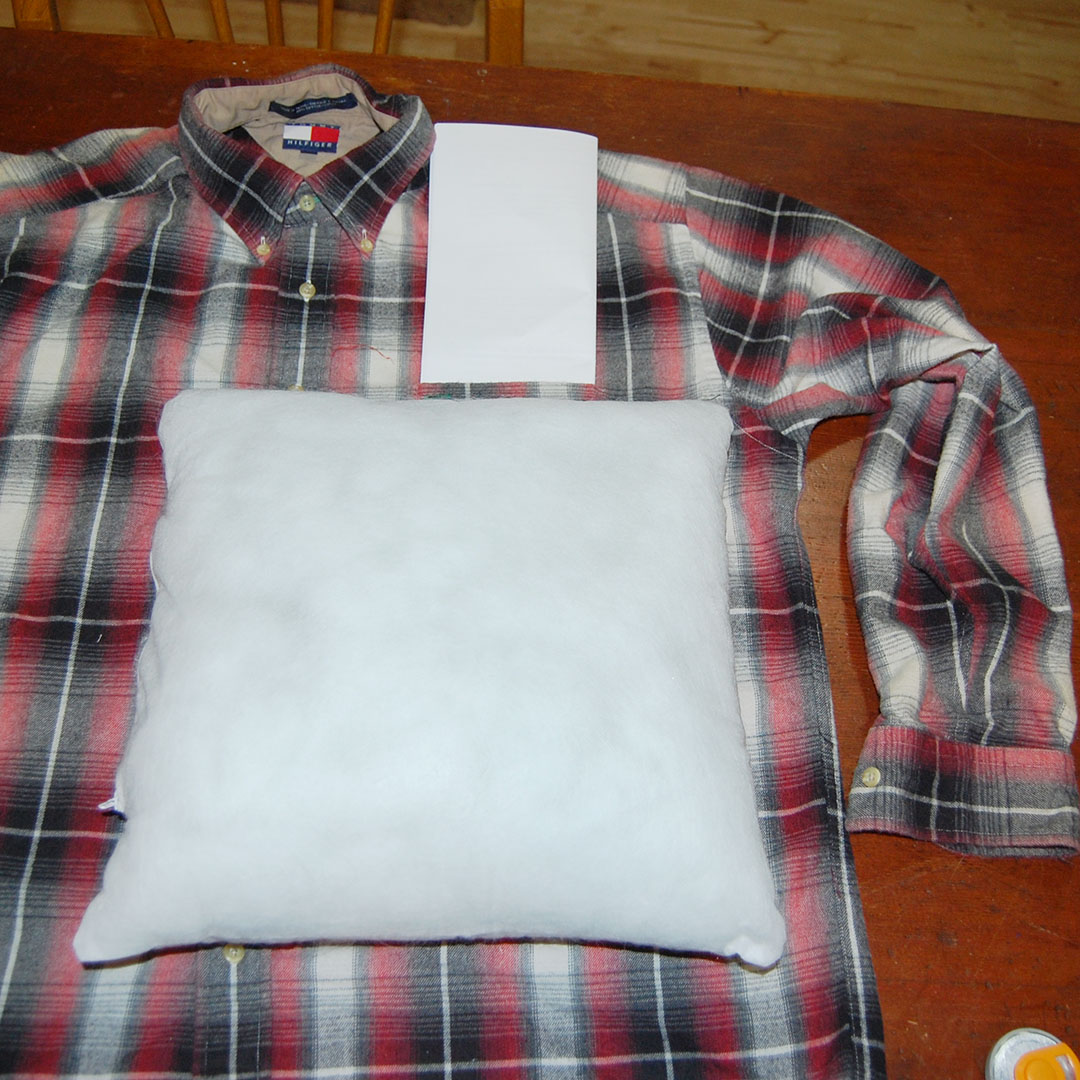
Lay out the flannel shirt to measure. Use the pillow form as a guide, measuring from seam to seam and allowing for a .25 inch margin.

Step 2:
Measure twice, cut once!
We cut our pieces so the buttons and pocket end up on the front side of the pillow cover. Once your pieces are cut, you’re ready to start sewing.

Step 3:
We used a sewing machine, but this project could easily be completed with a simple needle and thread! TIP: Be sure to sew the pieces inside out!
Once complete, turn it right side out. Slip it over the form or old pillow and hand stitch the fourth and final edge to reveal your cozy pillow ready for any chair!
Alternate ending: If you cut your cover pieces out of the buttoned part of the shirt, you can choose to sew all four sides, (instead of three) and slip the pillow form into the unbuttoned area, then button it back up. Clever huh?

That pocket looks just right for a TV remote!

HAND WARMERS
Supplies:
- Thrifted Flannel Shirt – Find at Goodwill or use the scraps from the Pillow Cover – remember to reuse!
- NOTE-It is recommended to use 100% cotton or linen for anything that will go in a microwave. Fleece or synthetic fabrics could melt at high temperatures.
- Sewing Machine or Needle and Thread
- White Rice
- Essential Oils or Favorite Fragrance
Step 1:
Cut your pieces into squares and/or rectangles allowing for a .25 inch margin. The finished size will be the size you cut plus the margin. E.X. 4 inches finished, cutout size 4.5 inches.

Step 2:
Once your pieces are cut, you’re ready to start sewing.
We used a sewing machine, but this project could easily be completed with a needle and thread! Sew all fours side but leave a 1 inch section unsewn.
Tip: Be sure to sew the pieces inside out!
Step 3:
Turn the fabric right side out and using a funnel (trust us on this one!) insert it into the unsewn section. You will want to add your essential oils to the rice before pouring it into the warmer. Pour the rice into the funnel and fill your warmer with as much or as little rice as you’d like. Be sure not to over fill them or the rice won’t have room to move and form around your hands while using.

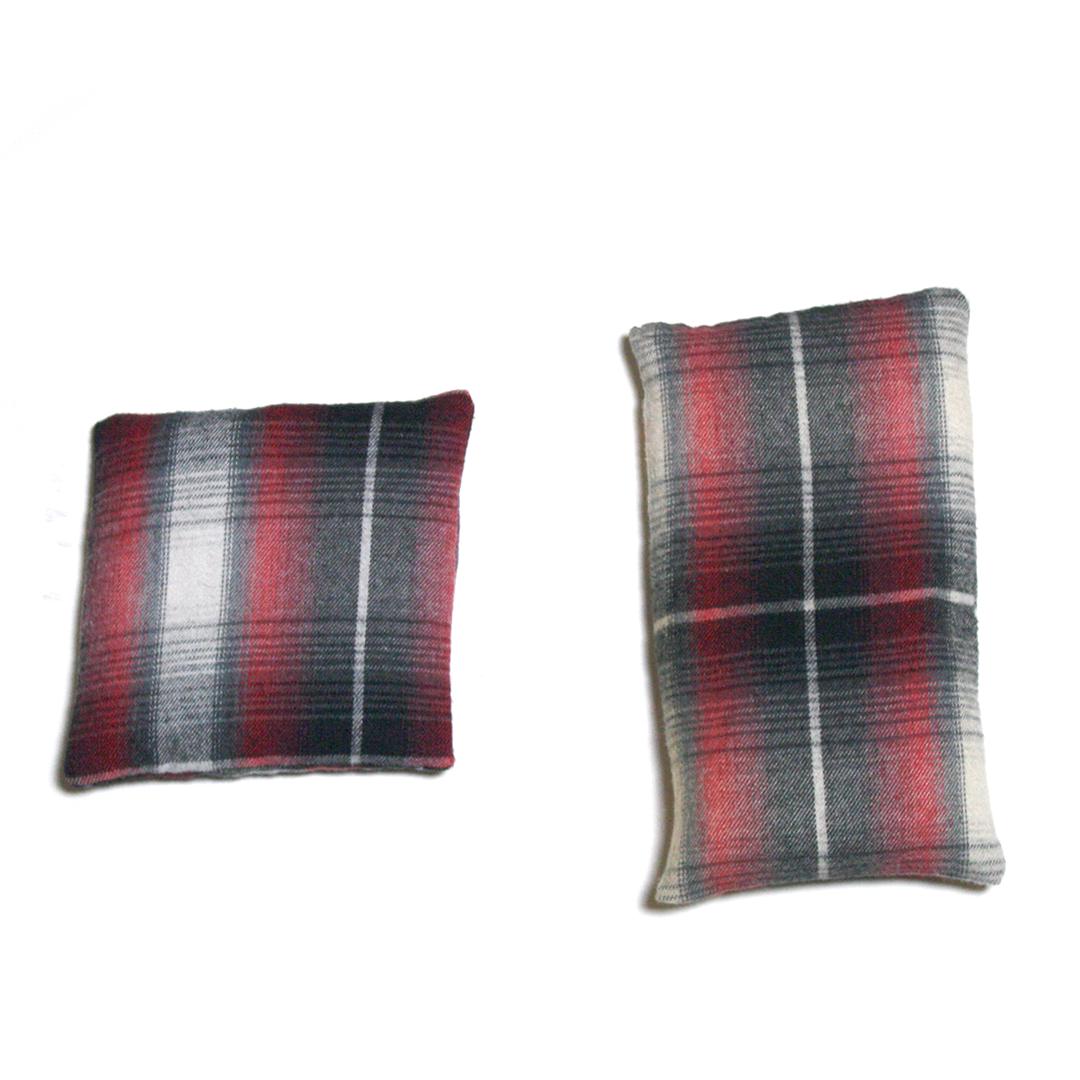
Even though we made these into square and rectangle shapes, don’t be afraid to get creative – maybe make a heart or diamond or trapezoid!
The rectangle shape is great for freezing and using as an ice pack for tired eyes or a kiddo’s booboo.
Heating – It is recommended that the warmers be heated in a microwave along with a cup of water. Start with a small amount of time like 20 seconds, and add more as needed.


