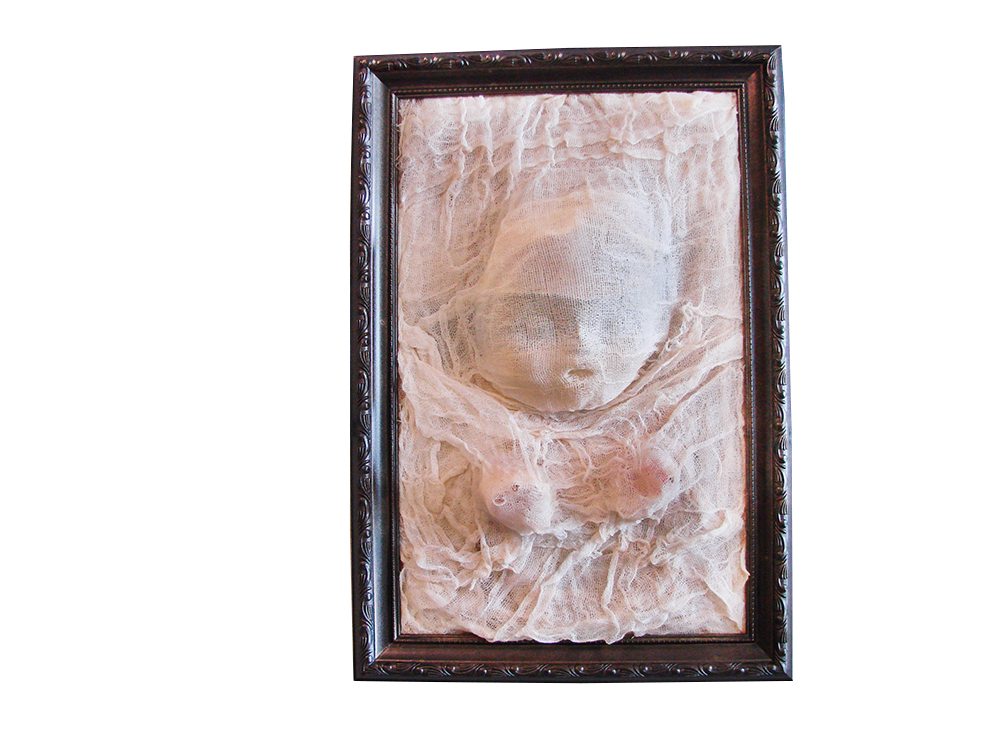
3D Framed Ghost
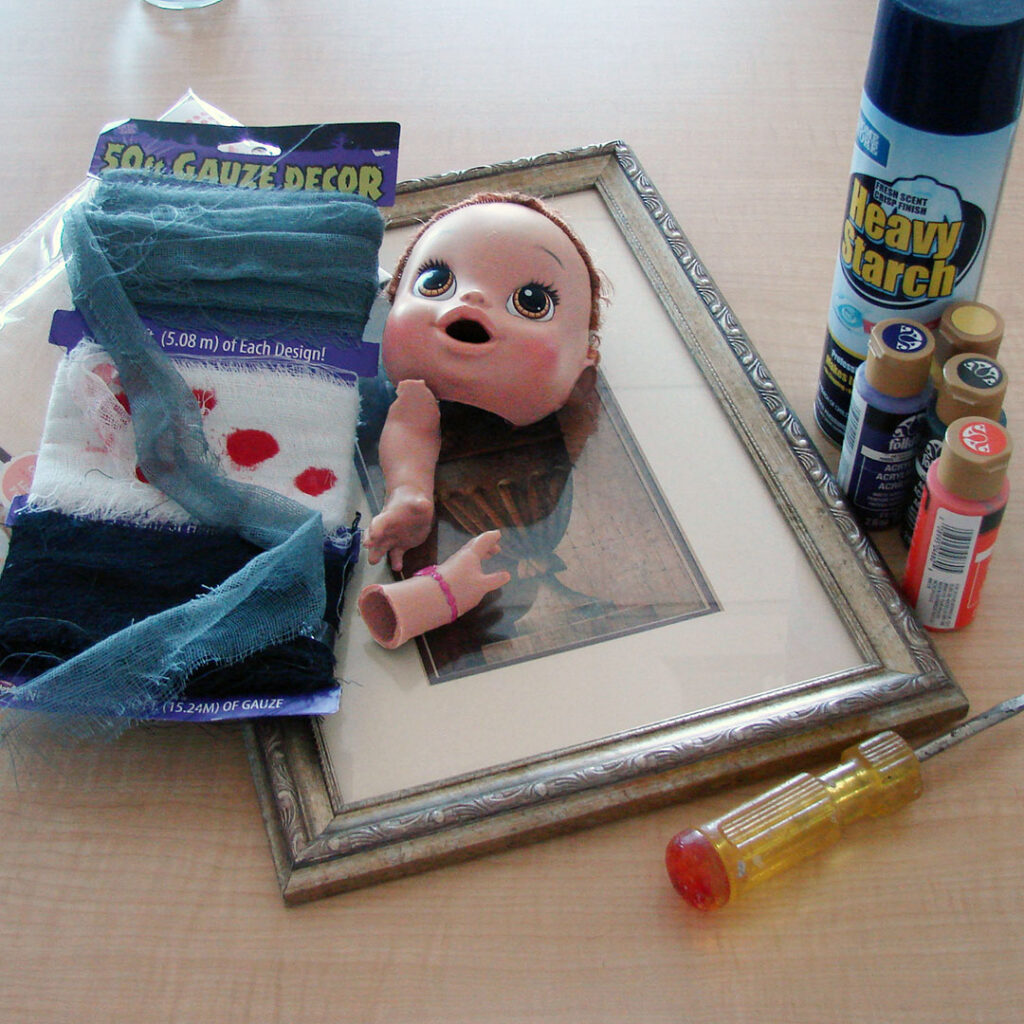
SUPPLIES:
- Plastic doll (ideally with a head circumference of 16″)
- Frame – 11″ x 14″
- Cheese cloth
- Acrylic Paint – if you want to add some spook to the frame
- Black spray paint
- Heavy spray starch
Sure ghosts are easy to make – trace your foot and turn it upside down (grade-school craft project.) But what about making a 3D version? One of our in-house DIYers made this super simple, only slightly messy 3D framed ghost from some everyday items found at Goodwill.
Step 1:
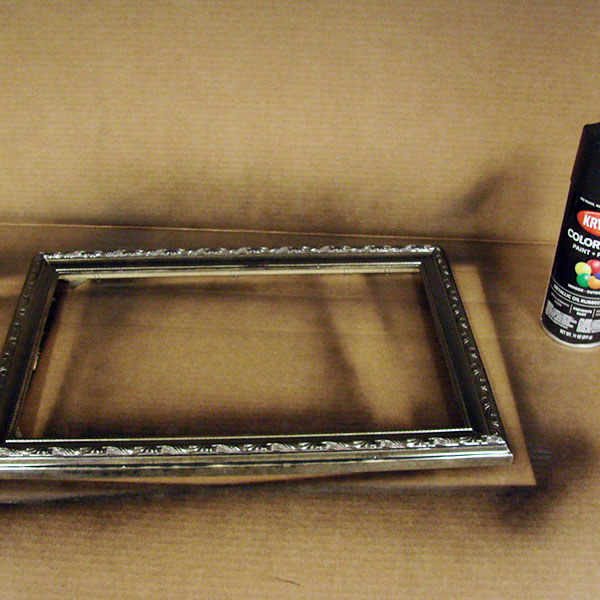
Remove the glass and back and spray paint the frame with the black paint. You can choose other colors like gray -just keep it spooky – bright pink just doesn’t have the same effect. Let it dry completely.
Step 2:
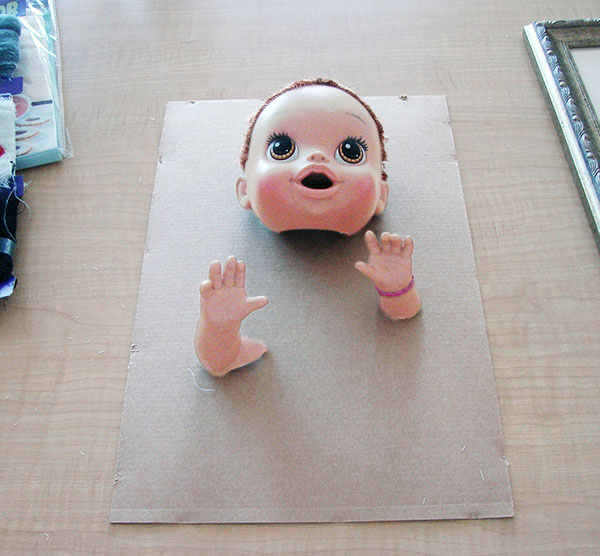
OK – here’s the creepy part – pull or cut off the head and the arms just above the elbow. Then lay them on the frame back (don’t glue them because they are removed later). To help the head lay flat, cut out a small portion from the back of it.
Steps 3 & 4:
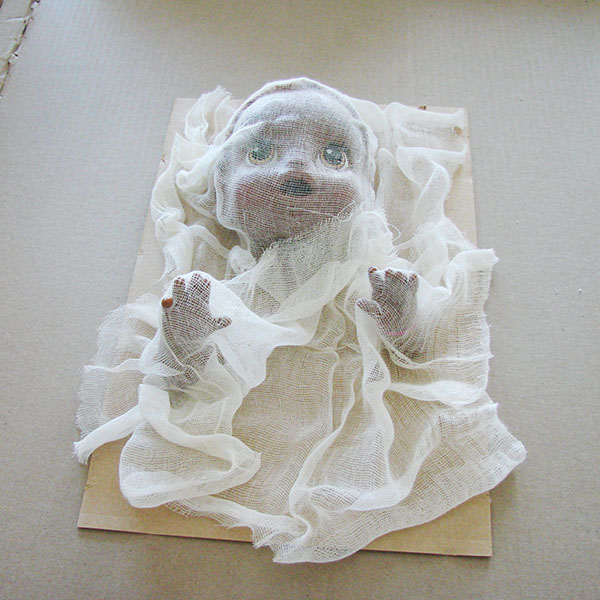
Lay the cheese cloth covering the doll head and arms. Loosely mold the cloth around each part and indent (eyes, mouth) so you will be able to see the outline of them when finished. Spray the starch all over. Repeat step 3 making four or five layers of cloth and starch. Then remove the head and arms.
Gently place the frame over the 3D ghost and refasten it.
Hang in your favorite room or dark hallway and enjoy the comments from everyone that sees it!
